

發布日期:2023 年 7 月 20 日,上次更新日期:2025 年 10 月 22 日
對於網頁開發人員而言,WebGPU 是一種網頁圖形 API,可提供統一且快速的 GPU 存取權。WebGPU 會公開現代硬體功能,並允許在 GPU 上執行算繪和運算作業,類似於 Direct3D 12、Metal 和 Vulkan。
雖然這項說法屬實,但故事並不完整。WebGPU 是合作開發的成果,參與的公司包括 Apple、Google、Intel、Mozilla 和 Microsoft 等主要企業。其中有些意識到,WebGPU 不只是 JavaScript API,而是適用於各生態系統開發人員的跨平台圖形 API,不限於網頁。
為滿足主要用途,Chrome 113 導入了 JavaScript API。不過,我們也同時開發了另一個重要專案:webgpu.h C API。這個 C 標頭檔案會列出 WebGPU 的所有可用程序和資料結構。這個層級可做為與平台無關的硬體抽象層,讓您透過不同平台間一致的介面,建構特定平台的應用程式。
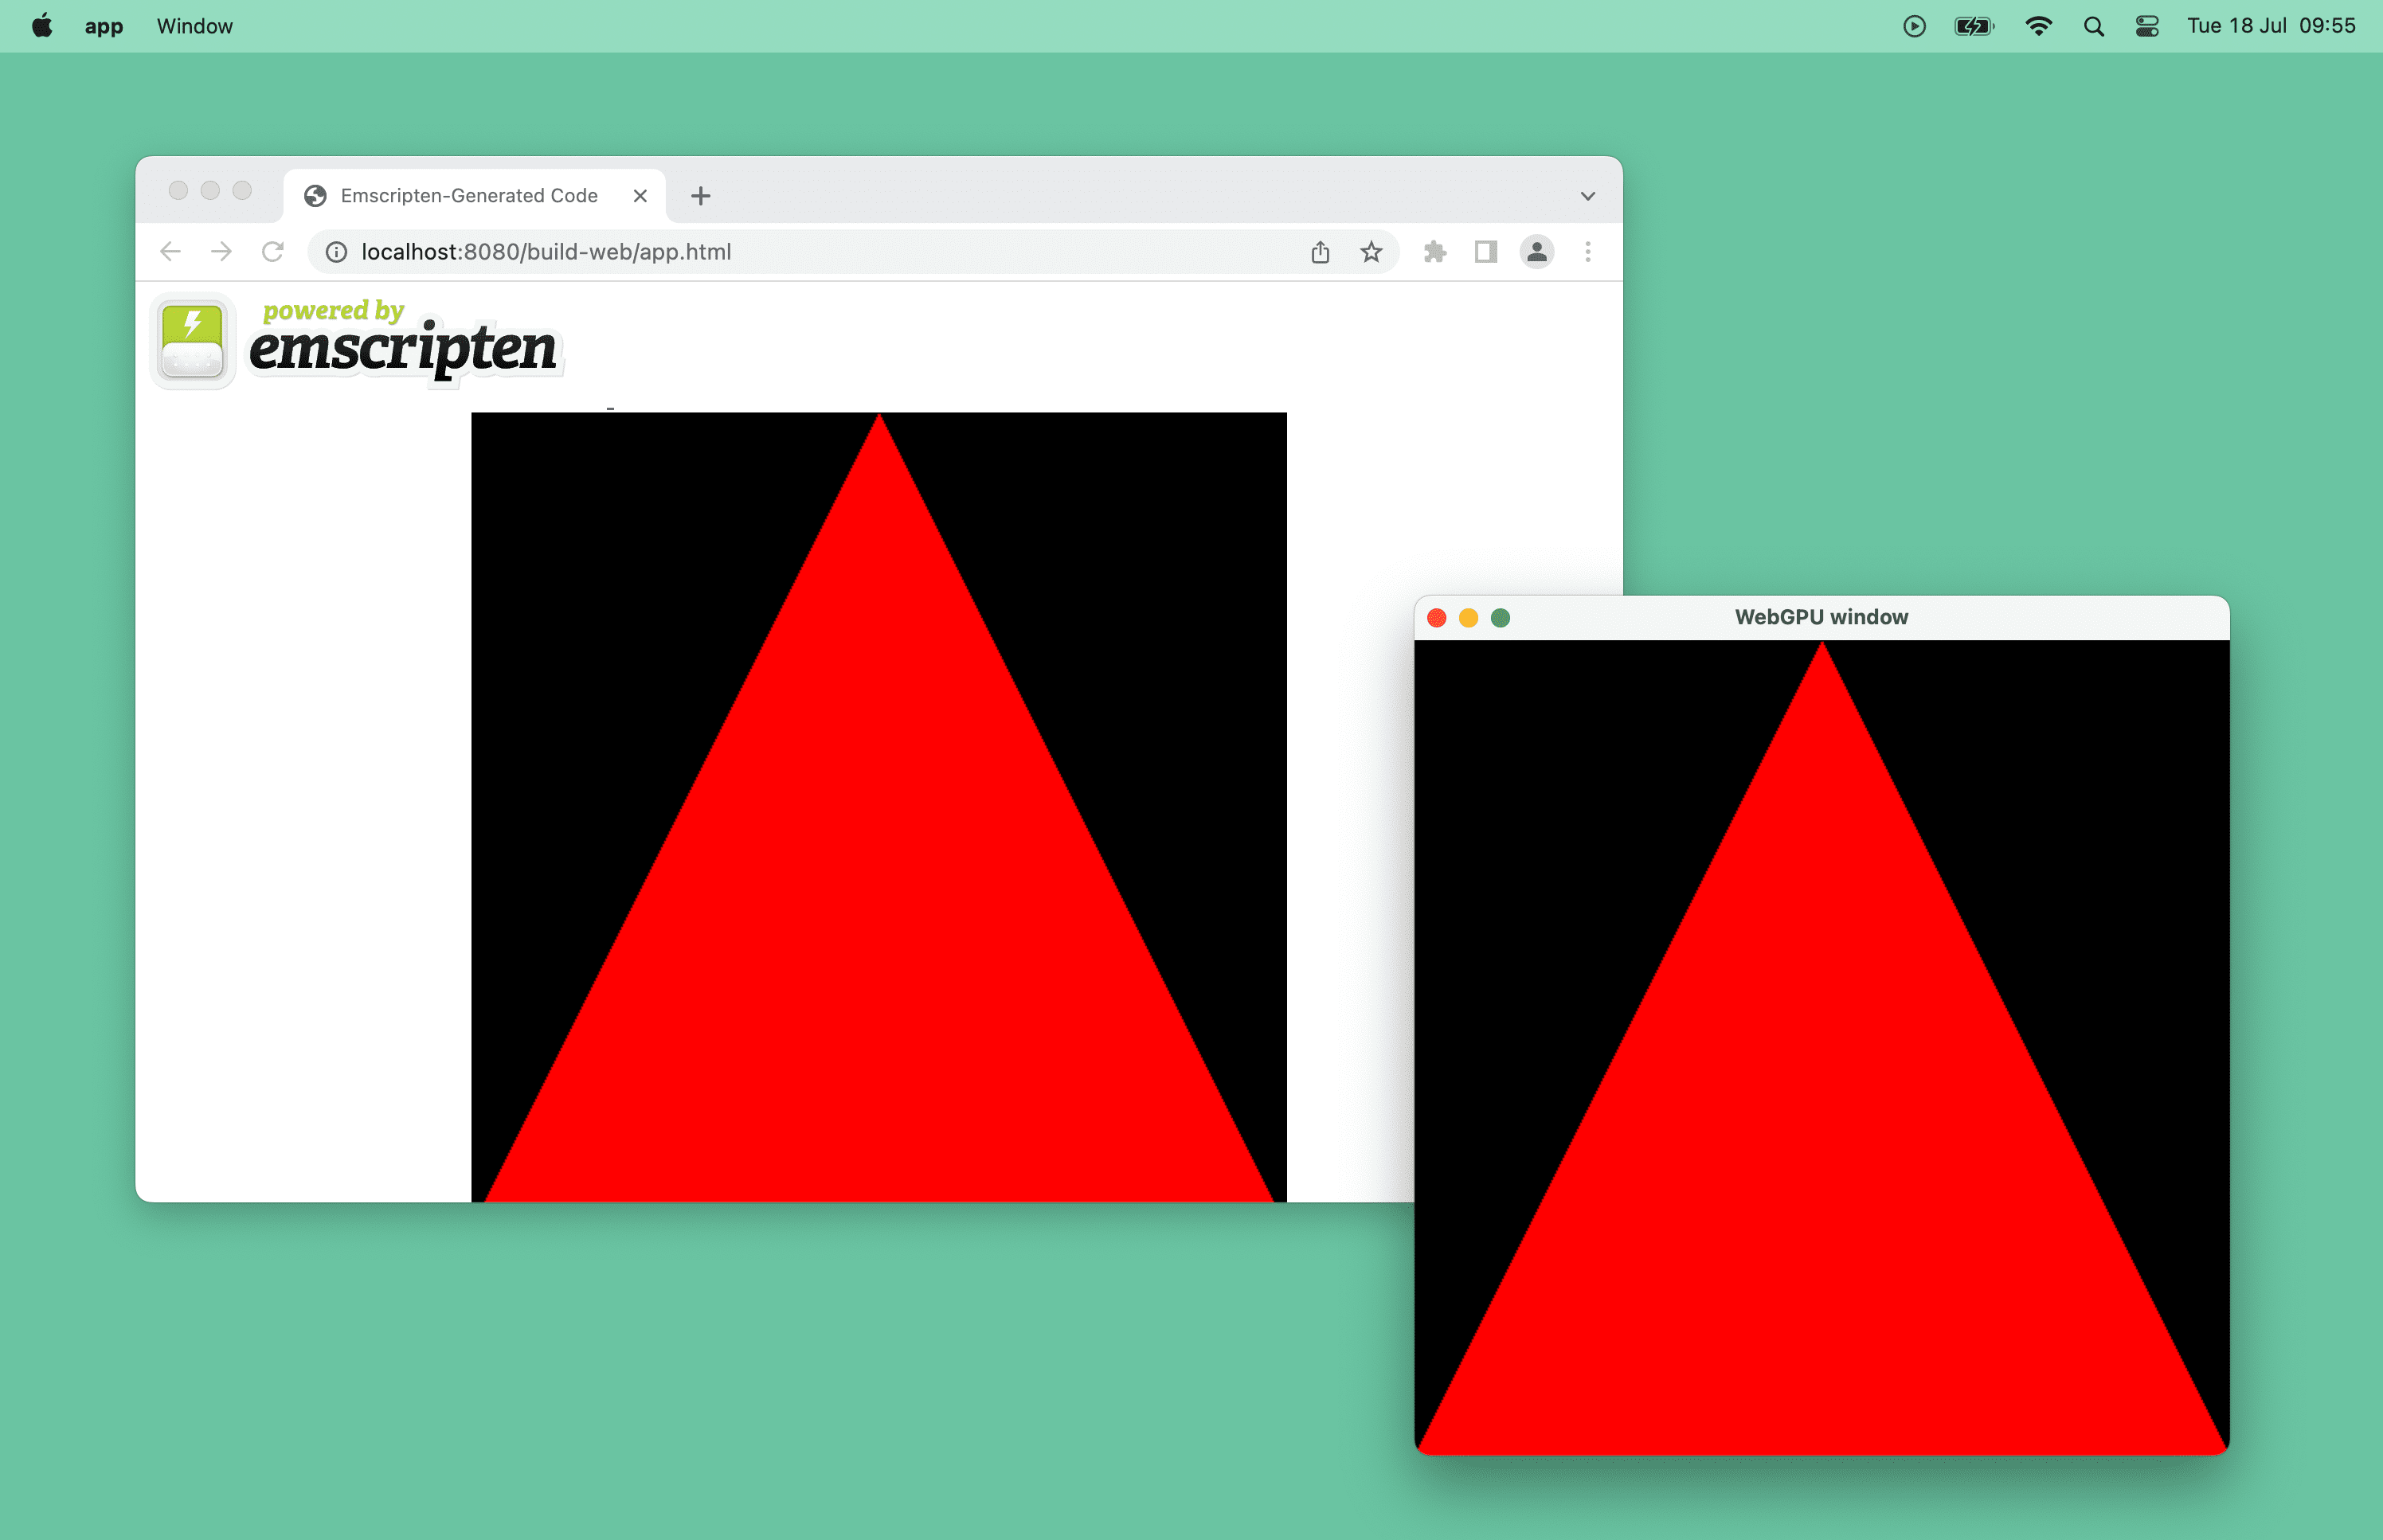
本文將說明如何使用 WebGPU 編寫小型 C++ 應用程式,在網頁和特定平台上執行。劇透一下,您會看到與瀏覽器視窗中相同的紅色三角形,而且只要稍微調整程式碼庫,就能在電腦視窗中顯示。
運作方式
如要查看完成的應用程式,請參閱 WebGPU 跨平台應用程式存放區。
這個應用程式是極簡的 C++ 範例,說明如何使用 WebGPU,透過單一程式碼集建構電腦和網頁應用程式。在幕後,它會透過名為 webgpu_cpp.h 的 C++ 包裝函式,使用 WebGPU 的 webgpu.h 做為與平台無關的硬體抽象層。
在網路上,應用程式是根據 emdawnwebgpu (Emscripten Dawn WebGPU) 建構而成,其中包含在 JavaScript API 頂端實作 webgpu.h 的繫結。在 macOS 或 Windows 等特定平台上,這個專案可以根據 Chromium 的跨平台 WebGPU 實作項目 Dawn 建構。值得一提的是,webgpu.h 的 Rust 實作項目 wgpu-native 也存在,但本文不會使用。
開始使用
首先,您需要 C++ 編譯器和 CMake,以標準方式處理跨平台建構作業。在專用資料夾中,建立 main.cpp 來源檔案和 CMakeLists.txt 建構檔案。
main.cpp 檔案目前應包含空白的 main() 函式。
int main() {}
CMakeLists.txt 檔案包含專案的基本資訊。最後一行指定執行檔名稱為「app」,且其原始碼為 main.cpp。
cmake_minimum_required(VERSION 3.22) # CMake version check
project(app)                         # Create project "app"
set(CMAKE_CXX_STANDARD 20)           # Enable C++20 standard

add_executable(app "main.cpp")
執行 cmake -B build,在「build/」子資料夾中建立建構檔案,然後執行 cmake --build build,實際建構應用程式並產生可執行檔。
# Build the app with CMake.
$ cmake -B build && cmake --build build

# Run the app.
$ ./build/app
應用程式會執行,但由於您需要一種在畫面上繪製內容的方式,因此目前不會有任何輸出內容。
取得 Dawn
如要繪製三角形,可以利用 Chromium 的跨平台 WebGPU 實作項目 Dawn。這包括用於繪製螢幕畫面的 GLFW C++ 程式庫。如要下載 Dawn,其中一種方式是將其新增為存放區的 git 子模組。下列指令會在「dawn/」子資料夾中擷取該檔案。
$ git init
$ git submodule add https://github.com/google/dawn.git
然後,按照下列方式附加至 CMakeLists.txt 檔案:
- CMake
DAWN_FETCH_DEPENDENCIES選項會擷取所有 Dawn 依附元件。 - 目標中包含
dawn/子資料夾。 - 您的應用程式會依附於
webgpu_dawn、webgpu_glfw和glfw目標,以便稍後在main.cpp檔案中使用這些目標。
…
set(DAWN_FETCH_DEPENDENCIES ON)
add_subdirectory("dawn" EXCLUDE_FROM_ALL)

target_link_libraries(app PRIVATE webgpu_dawn webgpu_glfw glfw)
開啟視窗
現在 Dawn 已可使用,請使用 GLFW 在畫面上繪製項目。為方便起見,webgpu_glfw 中包含這個程式庫,可讓您編寫與平台無關的視窗管理程式碼。
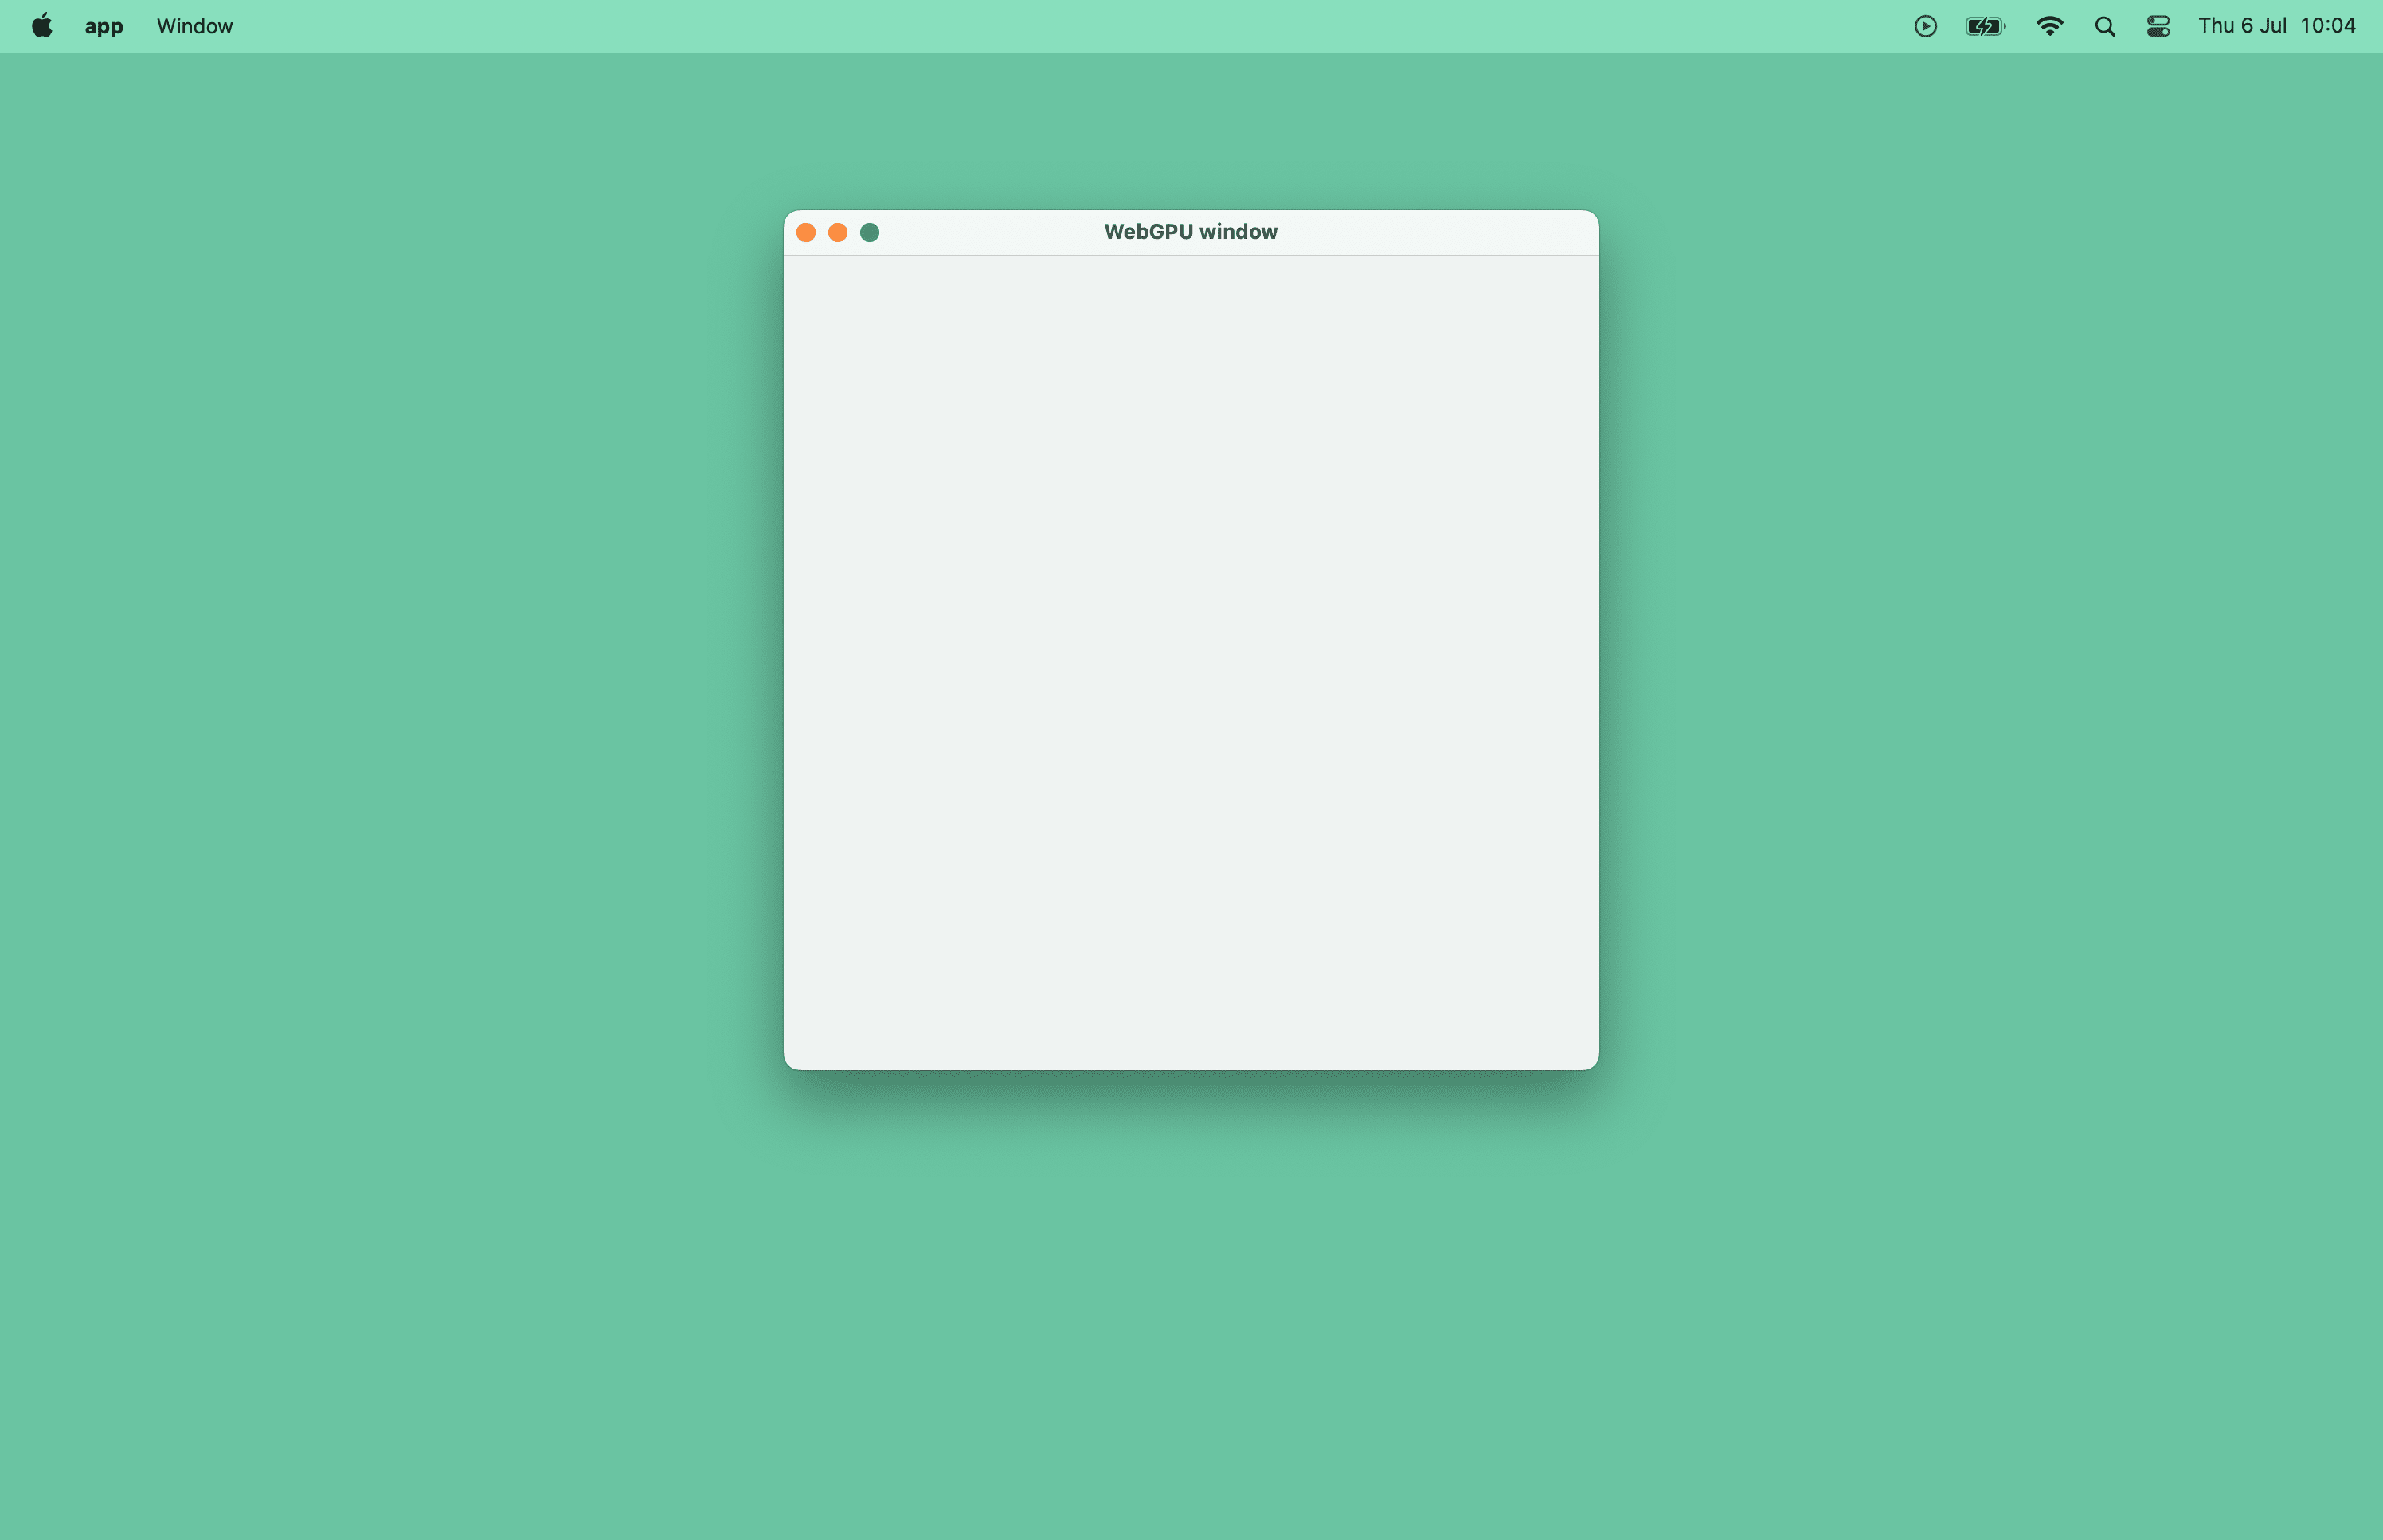
如要開啟解析度為 512x512 的「WebGPU window」視窗,請更新 main.cpp 檔案,如下所示。請注意,這裡使用 glfwWindowHint() 是為了要求不初始化任何特定 Graphics API。
#include <GLFW/glfw3.h>

const uint32_t kWidth = 512;
const uint32_t kHeight = 512;

void Start() {
  if (!glfwInit()) {
    return;
  }

  glfwWindowHint(GLFW_CLIENT_API, GLFW_NO_API);
  GLFWwindow* window =
      glfwCreateWindow(kWidth, kHeight, "WebGPU window", nullptr, nullptr);

  while (!glfwWindowShouldClose(window)) {
    glfwPollEvents();
    // TODO: Render a triangle using WebGPU.
  }
}

int main() {
  Start();
}
重新建構應用程式並照常執行後,現在會產生空白視窗。你進步了!
取得 GPU 裝置
在 JavaScript 中,navigator.gpu 是存取 GPU 的進入點。在 C++ 中,您需要手動建立用於相同用途的 wgpu::Instance 變數。為方便起見,請在 main.cpp 檔案頂端宣告 instance,並在 Init() 內呼叫 wgpu::CreateInstance()。
#include <webgpu/webgpu_cpp.h>
…

wgpu::Instance instance;
…

void Init() {
  static const auto kTimedWaitAny = wgpu::InstanceFeatureName::TimedWaitAny;
  wgpu::InstanceDescriptor instanceDesc{.requiredFeatureCount = 1,
                                        .requiredFeatures = &kTimedWaitAny};
  instance = wgpu::CreateInstance(&instanceDesc);
}

int main() {
  Init();
  Start();
}
在 main.cpp 檔案頂端宣告兩個變數 wgpu::Adapter 和 wgpu::Device。更新 Init() 函式以呼叫 instance.RequestAdapter(),並將其結果回呼指派給 adapter,然後呼叫 adapter.RequestDevice() 並將其結果回呼指派給 device。
#include <iostream>

#include <dawn/webgpu_cpp_print.h>
…

wgpu::Adapter adapter;
wgpu::Device device;


void Init() {
  …

  wgpu::Future f1 = instance.RequestAdapter(
      nullptr, wgpu::CallbackMode::WaitAnyOnly,
      [](wgpu::RequestAdapterStatus status, wgpu::Adapter a,
         wgpu::StringView message) {
        if (status != wgpu::RequestAdapterStatus::Success) {
          std::cout << "RequestAdapter: " << message << "\n";
          exit(0);
        }
        adapter = std::move(a);
      });
  instance.WaitAny(f1, UINT64_MAX);

  wgpu::DeviceDescriptor desc{};
  desc.SetUncapturedErrorCallback([](const wgpu::Device&,
                                     wgpu::ErrorType errorType,
                                     wgpu::StringView message) {
    std::cout << "Error: " << errorType << " - message: " << message << "\n";
  });

  wgpu::Future f2 = adapter.RequestDevice(
      &desc, wgpu::CallbackMode::WaitAnyOnly,
      [](wgpu::RequestDeviceStatus status, wgpu::Device d,
         wgpu::StringView message) {
        if (status != wgpu::RequestDeviceStatus::Success) {
          std::cout << "RequestDevice: " << message << "\n";
          exit(0);
        }
        device = std::move(d);
      });
  instance.WaitAny(f2, UINT64_MAX);
}
繪製三角形
瀏覽器會處理 swap chain,因此 JavaScript API 不會公開這項內容。在 C++ 中,您需要手動建立。再次為了方便起見,請在 main.cpp 檔案頂端宣告 wgpu::Surface 變數。在 Start() 中建立 GLFW 視窗後,請立即呼叫實用的 wgpu::glfw::CreateSurfaceForWindow() 函式來建立 wgpu::Surface (類似於 HTML 畫布),並在 InitGraphics() 中呼叫新的輔助 ConfigureSurface() 函式來設定。您也需要在 while 迴圈中呼叫 surface.Present(),呈現下一個紋理。由於目前尚未進行任何算繪作業,因此不會有任何可見效果。
#include <webgpu/webgpu_glfw.h>
…

wgpu::Surface surface;
wgpu::TextureFormat format;

void ConfigureSurface() {
  wgpu::SurfaceCapabilities capabilities;
  surface.GetCapabilities(adapter, &capabilities);
  format = capabilities.formats[0];

  wgpu::SurfaceConfiguration config{.device = device,
                                    .format = format,
                                    .width = kWidth,
                                    .height = kHeight};
  surface.Configure(&config);
}

void InitGraphics() {
  ConfigureSurface();
}

void Render() {
  // TODO: Render a triangle using WebGPU.
}

void Start() {
  …
  surface = wgpu::glfw::CreateSurfaceForWindow(instance, window);

  InitGraphics();

  while (!glfwWindowShouldClose(window)) {
    glfwPollEvents();
    Render();
    surface.Present();
    instance.ProcessEvents();
  }
}
現在正好可以利用下列程式碼建立算繪管道。為方便存取,請在 main.cpp 檔案頂端宣告 wgpu::RenderPipeline 變數,並在 InitGraphics() 中呼叫輔助函式 CreateRenderPipeline()。
wgpu::RenderPipeline pipeline;
…

const char shaderCode[] = R"(
    @vertex fn vertexMain(@builtin(vertex_index) i : u32) ->
      @builtin(position) vec4f {
        const pos = array(vec2f(0, 1), vec2f(-1, -1), vec2f(1, -1));
        return vec4f(pos[i], 0, 1);
    }
    @fragment fn fragmentMain() -> @location(0) vec4f {
        return vec4f(1, 0, 0, 1);
    }
)";

void CreateRenderPipeline() {
  wgpu::ShaderSourceWGSL wgsl{{.code = shaderCode}};

  wgpu::ShaderModuleDescriptor shaderModuleDescriptor{.nextInChain = &wgsl};
  wgpu::ShaderModule shaderModule =
      device.CreateShaderModule(&shaderModuleDescriptor);

  wgpu::ColorTargetState colorTargetState{.format = format};

  wgpu::FragmentState fragmentState{
      .module = shaderModule, .targetCount = 1, .targets = &colorTargetState};

  wgpu::RenderPipelineDescriptor descriptor{.vertex = {.module = shaderModule},
                                            .fragment = &fragmentState};
  pipeline = device.CreateRenderPipeline(&descriptor);
}

void InitGraphics() {
  …
  CreateRenderPipeline();
}
最後,在每個影格呼叫的 Render() 函式中,將算繪指令傳送至 GPU。
void Render() {
  wgpu::SurfaceTexture surfaceTexture;
  surface.GetCurrentTexture(&surfaceTexture);

  wgpu::RenderPassColorAttachment attachment{
      .view = surfaceTexture.texture.CreateView(),
      .loadOp = wgpu::LoadOp::Clear,
      .storeOp = wgpu::StoreOp::Store};

  wgpu::RenderPassDescriptor renderpass{.colorAttachmentCount = 1,
                                        .colorAttachments = &attachment};

  wgpu::CommandEncoder encoder = device.CreateCommandEncoder();
  wgpu::RenderPassEncoder pass = encoder.BeginRenderPass(&renderpass);
  pass.SetPipeline(pipeline);
  pass.Draw(3);
  pass.End();
  wgpu::CommandBuffer commands = encoder.Finish();
  device.GetQueue().Submit(1, &commands);
}
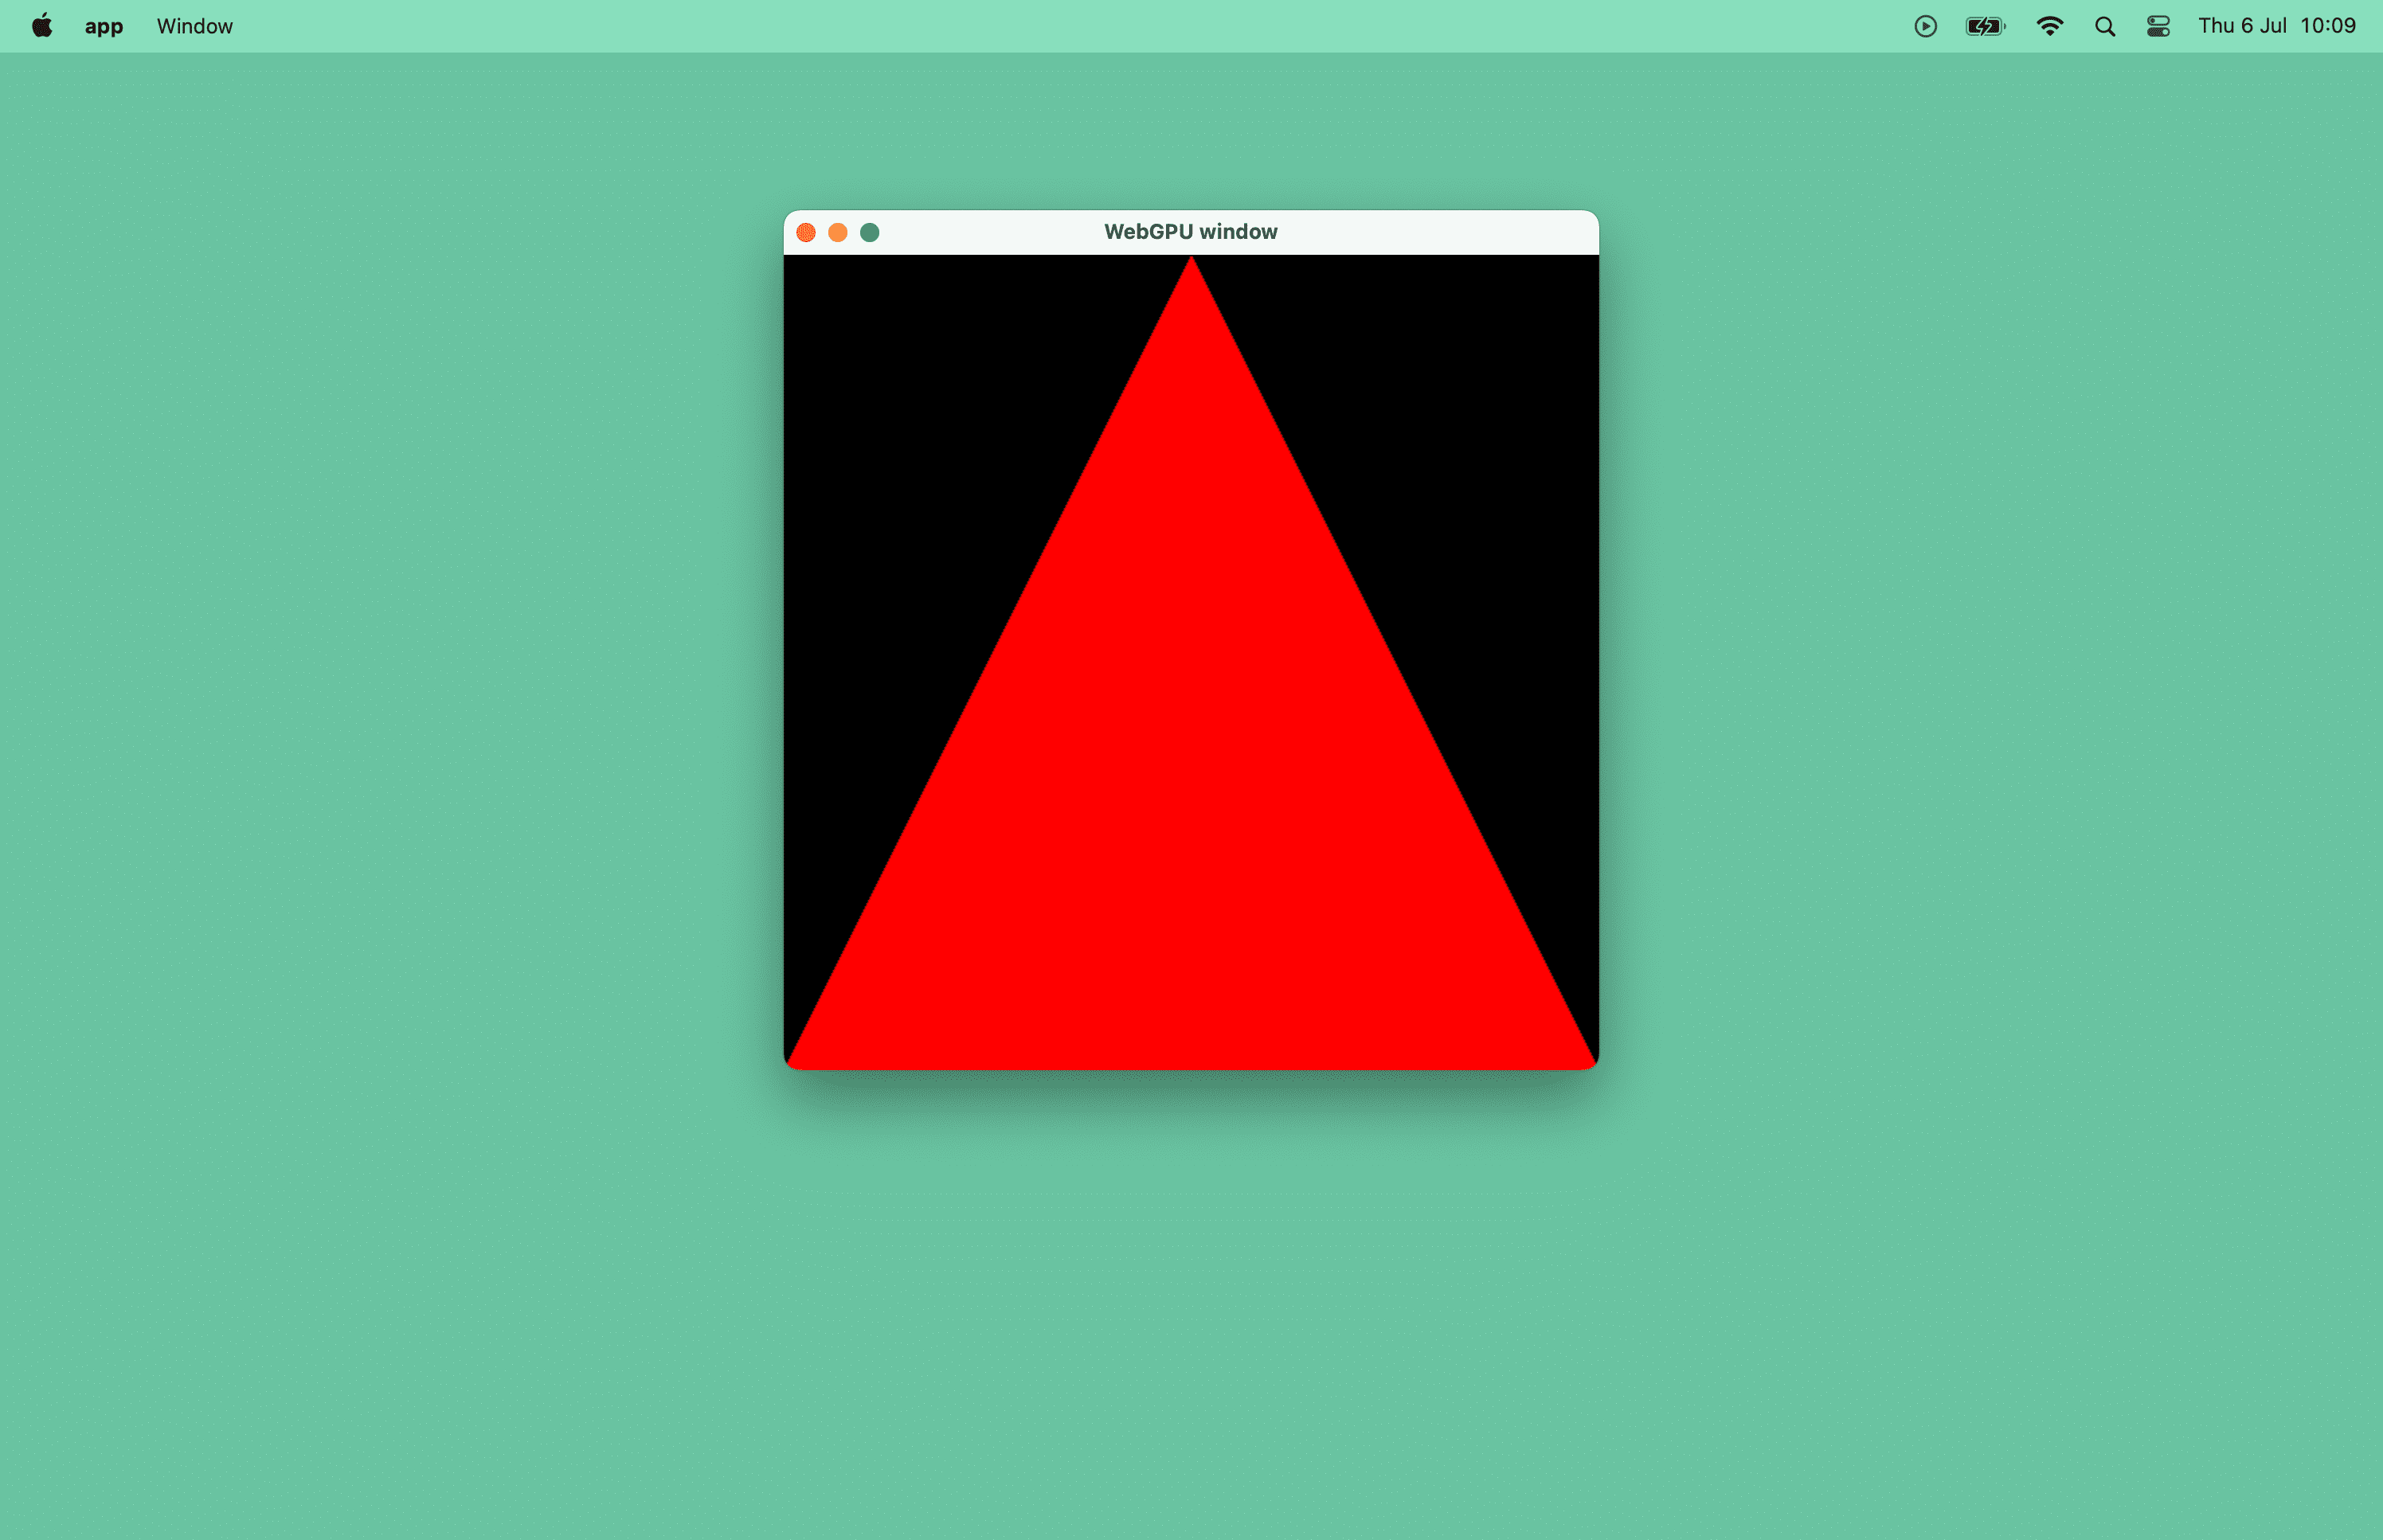
使用 CMake 重建應用程式並執行後,視窗中就會顯示期待已久的紅色三角形!休息一下吧!
編譯為 WebAssembly
現在來看看調整現有程式碼集所需的最低變更,以便在瀏覽器視窗中繪製這個紅色三角形。同樣地,這個應用程式是根據 emdawnwebgpu (Emscripten Dawn WebGPU) 建構而成,其中包含在 JavaScript API 頂端實作 webgpu.h 的繫結。這項工具使用 Emscripten,可將 C/C++ 程式編譯為 WebAssembly。
更新 CMake 設定
安裝 Emscripten 後,請按照下列方式更新 CMakeLists.txt 建構檔案。
您只需要變更醒目顯示的程式碼。
set_target_properties用於自動將「html」副檔名新增至目標檔案。換句話說,您會產生「app.html」檔案。emdawnwebgpu_cpp目標連結程式庫可在 Emscripten 中啟用 WebGPU 支援。如果沒有,main.cpp檔案就無法存取webgpu/webgpu_cpp.h檔案。ASYNCIFY=1應用程式連結選項可讓同步 C++ 程式碼與非同步 JavaScript 互動。USE_GLFW=3應用程式連結選項會告知 Emscripten 使用 GLFW 3 API 的內建 JavaScript 實作。
cmake_minimum_required(VERSION 3.22) # CMake version check
project(app)                         # Create project "app"
set(CMAKE_CXX_STANDARD 20)           # Enable C++20 standard

add_executable(app "main.cpp")

set(DAWN_FETCH_DEPENDENCIES ON)
add_subdirectory("dawn" EXCLUDE_FROM_ALL)

if(EMSCRIPTEN)
  set_target_properties(app PROPERTIES SUFFIX ".html")
  target_link_libraries(app PRIVATE emdawnwebgpu_cpp webgpu_glfw)
  target_link_options(app PRIVATE "-sASYNCIFY=1" "-sUSE_GLFW=3")
else()
  target_link_libraries(app PRIVATE webgpu_dawn webgpu_glfw glfw)
endif()
更新程式碼
請呼叫 emscripten_set_main_loop(Render),確保 Render() 函式以適當的平滑速率呼叫,與瀏覽器和螢幕正確對齊,而不是使用 while 迴圈。
#include <iostream>

#include <GLFW/glfw3.h>
#if defined(__EMSCRIPTEN__)
#include <emscripten/emscripten.h>
#endif
#include <dawn/webgpu_cpp_print.h>
#include <webgpu/webgpu_cpp.h>
#include <webgpu/webgpu_glfw.h>
void Start() {
  …
#if defined(__EMSCRIPTEN__)
  emscripten_set_main_loop(Render, 0, false);
#else
  while (!glfwWindowShouldClose(window)) {
    glfwPollEvents();
    Render();
    surface.Present();
    instance.ProcessEvents();
  }
#endif
}
使用 Emscripten 建構應用程式
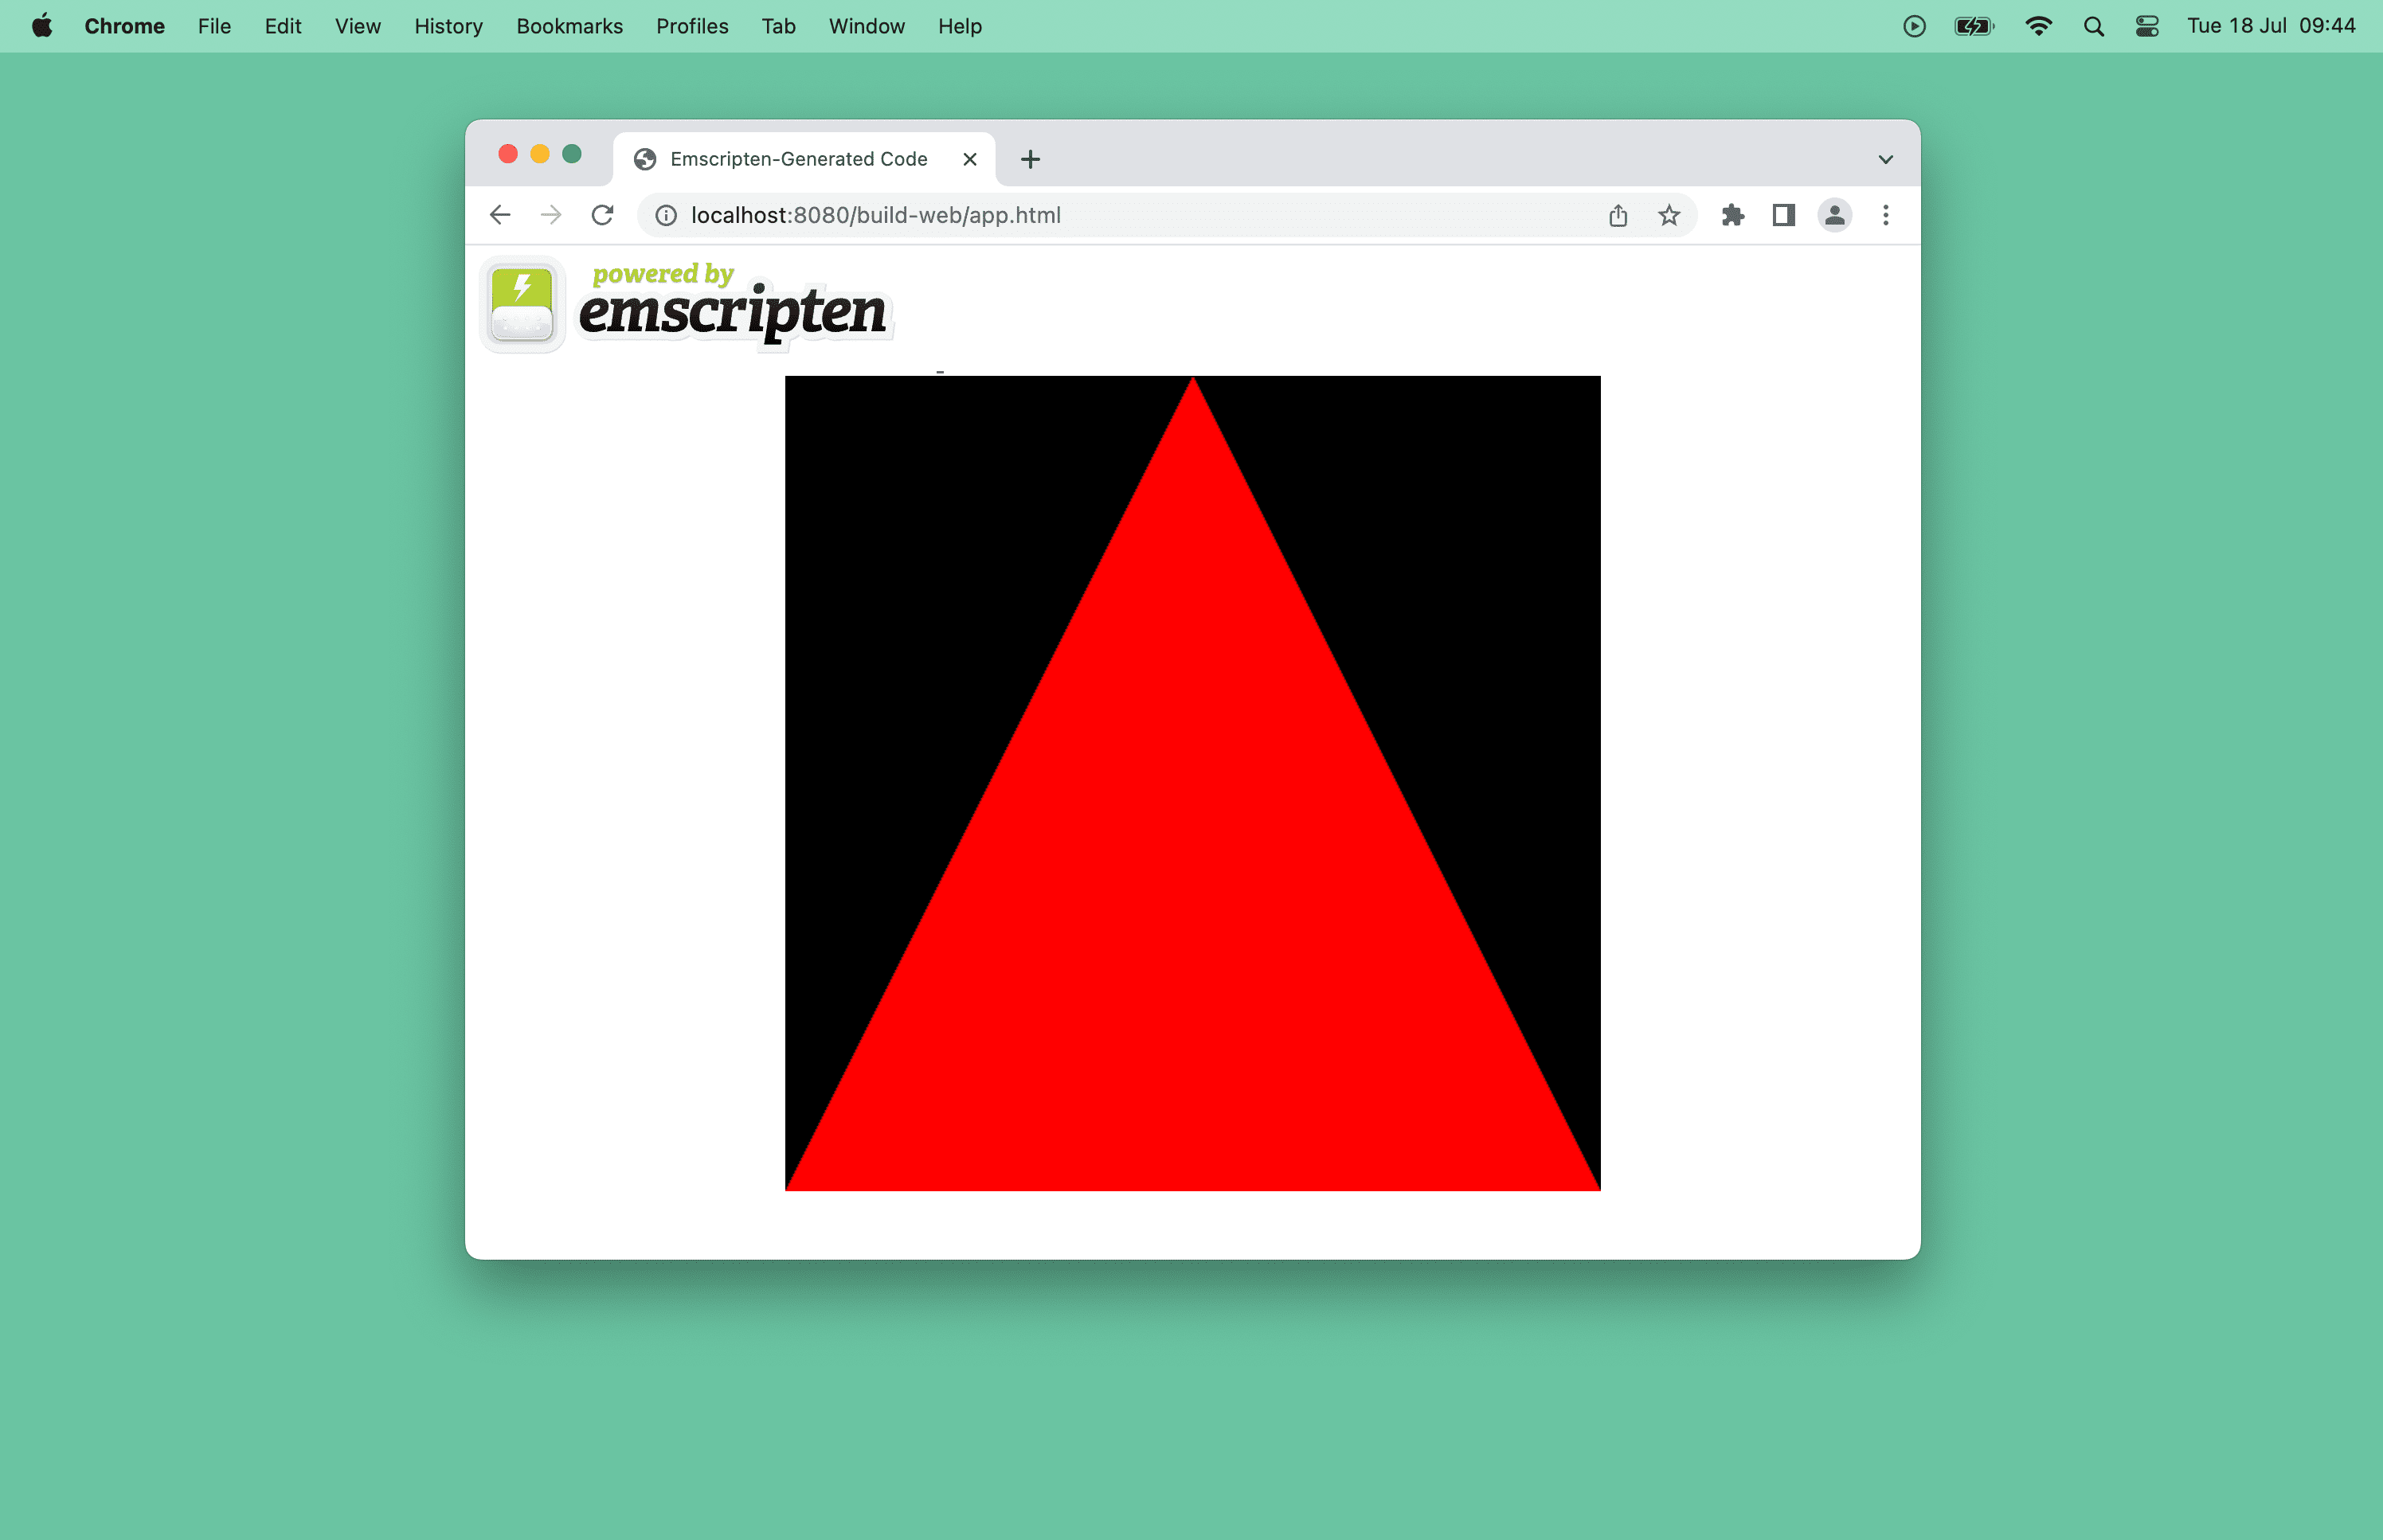
如要使用 Emscripten 建構應用程式,唯一需要變更的地方是,在 cmake 指令前加上神奇的 emcmake Shell 指令碼。這次請在 build-web 子資料夾中產生應用程式,並啟動 HTTP 伺服器。最後,開啟瀏覽器並前往 build-web/app.html。
# Build the app with Emscripten.
$ emcmake cmake -B build-web && cmake --build build-web

# Start a HTTP server.
$ npx http-server
後續步驟
預計 Android 和 iOS 裝置將率先支援 Dawn。
在此期間,請提出 Emscripten 的 WebGPU 問題和 Dawn 問題,並提供建議和問題。
資源
歡迎查看這個應用程式的原始碼。
如要進一步瞭解如何使用 WebGPU 從頭開始以 C++ 建立原生 3D 應用程式,請參閱「Learn WebGPU for C++ documentation」和「Dawn Native WebGPU Examples」。
如果您對 Rust 有興趣,也可以探索以 WebGPU 為基礎的 wgpu 圖形程式庫。請參閱他們的 hello-triangle 範例。
致謝
本文由 Corentin Wallez、Kai Ninomiya 和 Rachel Andrew 審查。